

A Definitive Guide to Repotting
If you’re like us, when you first bring home a new houseplant your first inclination is most likely going to be to put it in an equally beautiful planter. However, repotting can sometimes feel daunting, and you may not know where to begin.
Good thing for you, we have provided a step-by-step guide to help you pick out the right planter, choose the correct potting medium, and plant that baby in your fresh dirt!
-
Choose a Planter Material
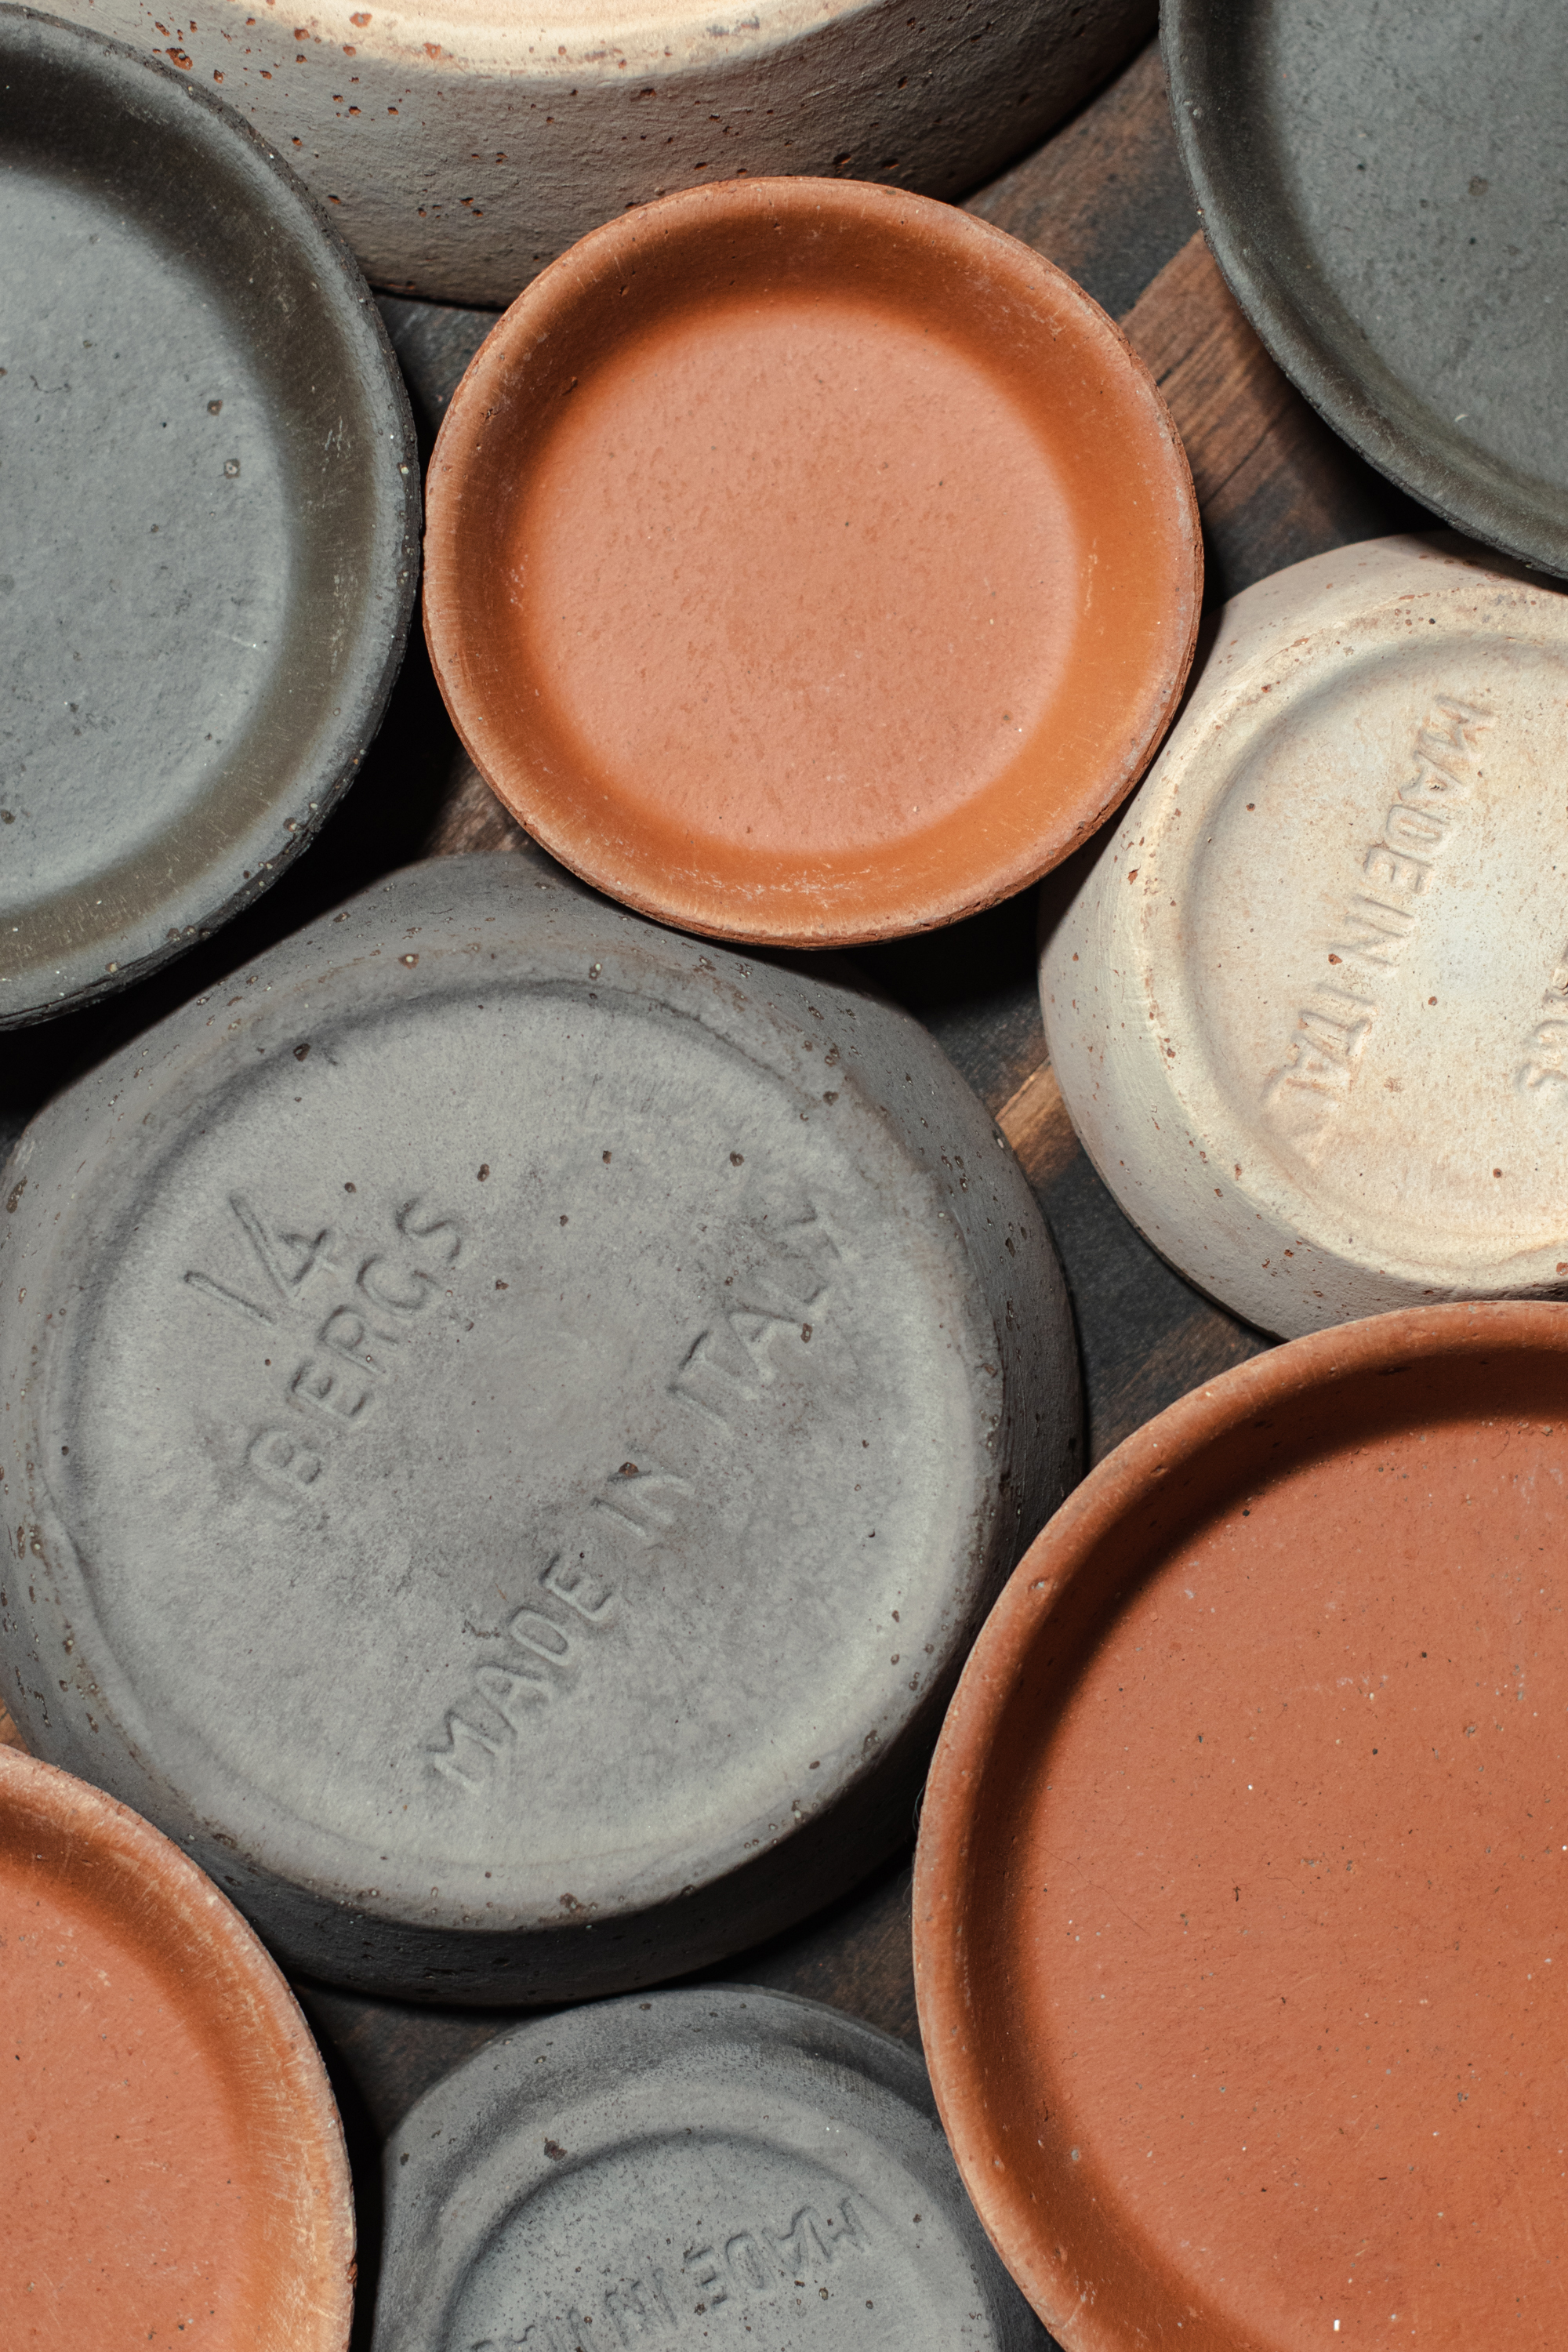
Most pots are made from plastic, terracotta, porcelain or glazed ceramic. There are also some pots out there constructed from concrete, carved stone, wood, glass and even felt!
The majority of indoor plants are from tropical climates and can thrive in any of these containers so long as there is a drainage hole for any excess water to flow through and allow for adequate aeration to the roots.
Always use a planter with at least one drainage hole. Planters that lack a drainage hole make watering very tricky, and does not provide the necessary soil aeration needed. If you must use a planter without any form of drainage, make sure to only water with about ¼ of the volume of water as the total size of the planter.
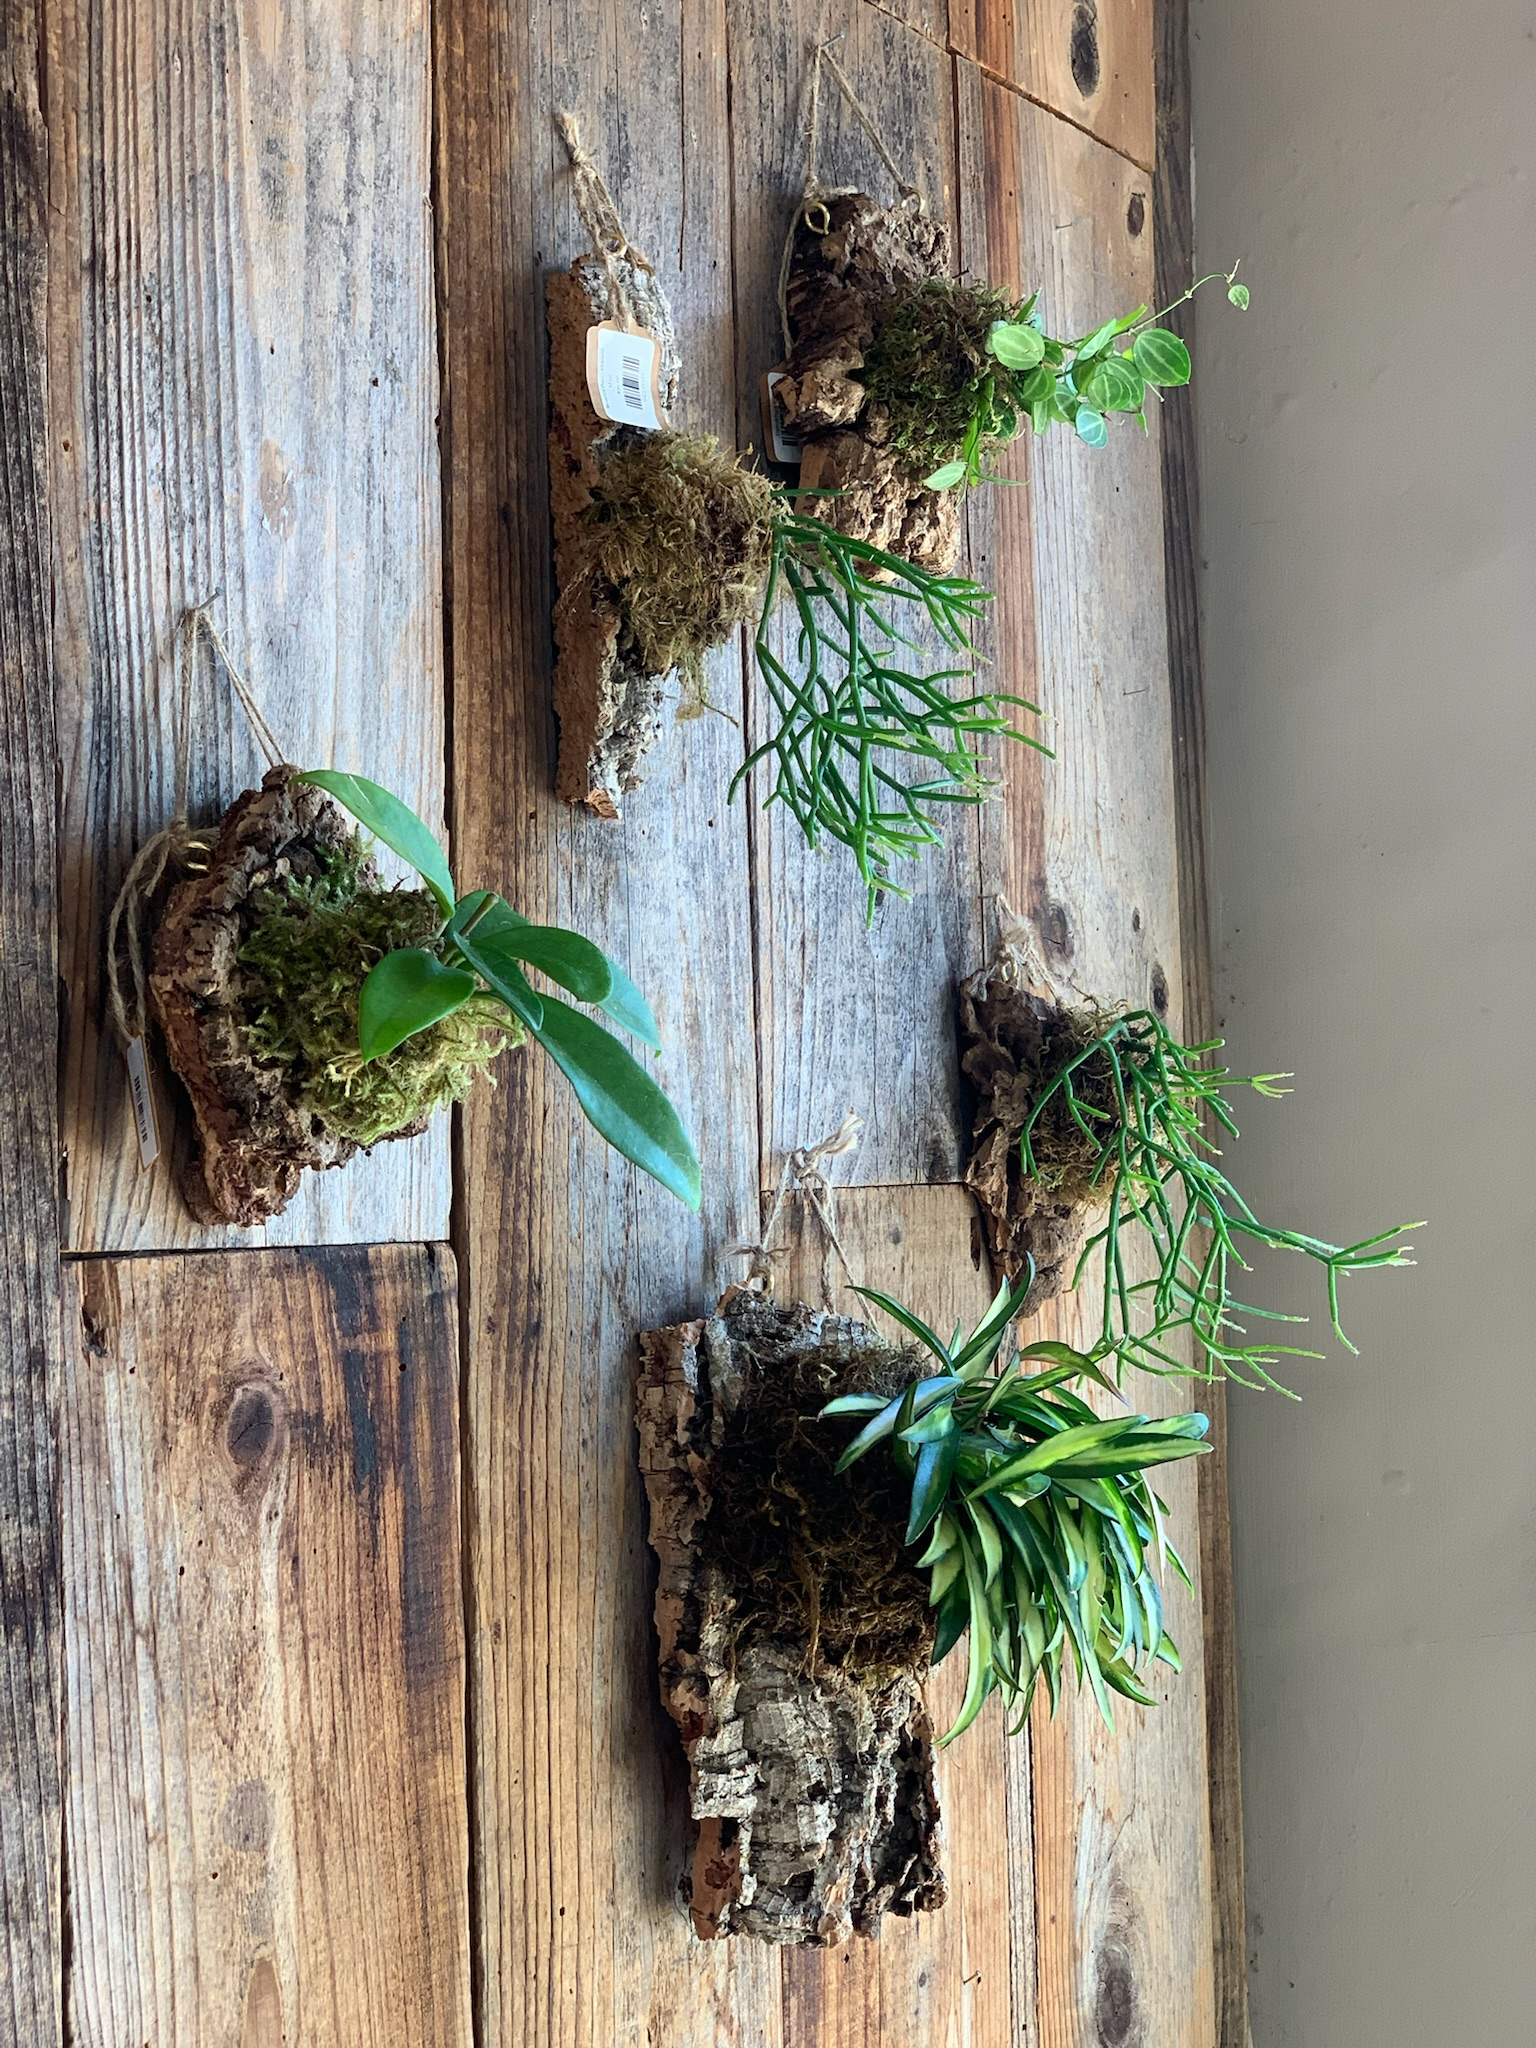
Pots crafted from porous materials such as wood, unglazed ceramic, concrete, felt, etc., will absorb and allow excess soil moisture to evaporate, which allows the soil to dry out quickly and evenly. Porous options are a great choice for plants that prefer to dry out slightly between waterings, such as orchids and other epiphytes as well as arid varieties like succulents.
Planters made from nonporous materials such as glazed ceramic, glass and plastic will not leach water from the soil and allow the planting medium to remain moist for longer periods of time. They are generally an ideal choice for tropical plants who prefer for their soil to remain evenly moist at all times, such as many Ferns, Carnivorous plants, Alocasias, Aphelandras and Calatheas, to name a few.
-
Pick Out the Correct Planter SIze
In addition to picking the correct planter material, you also need to take size into consideration. Most individuals’ natural inclination is to immediately re-pot into a larger planter in order to give the plant “room to grow”. However, if a plant’s roots have not already outgrown the vessel it is currently in, overpotting your plant can be a quick ticket to root rot! If the roots of your plant do not adequately fill out their current pot size, you run the risk of the plant’s soil and roots staying moist for long periods of time.
The correct method? We recommend picking a planter that is no more than 2” wider in diameter than the plant's current planter. This is especially vital for juvenile plants that come in 2”, 4”,and 6” nursery pots. If your plant prefers for its soil to dry out considerably between waterings, it may also be wise to select a pot similar in size or just 1” wider.
-
Make Sure You Have the Right Potting Medium
Using the right potting medium is also a vital recipe for replanting success. When a plant is potted into a vessel -- rather than straight into the ground -- it is going to have much more specific soil needs. The main purpose of a potting medium is to act as a sponge to retain the correct amount of moisture and fertilizer that your plant requires, as well as to facilitate the right amount of airflow for its roots. The main component to most potting soils is a highly absorptive material, such as peat moss or coco coir. These mossy materials are the moisture-wicking base that retains water and fertilizer.
Most soil also contains a mix of potting amendments, such as tree mulch, perlite or pumice. These additives create air pockets and help water drain evenly. For plants that prefer for their soil to stay moist, there is generally a higher ratio of spongy to chunky material. In contrast, plants that like for their soil to dry out prefer an even concentration to moss and chonk. Finally, Xeric plants like cacti and many succulents favor a soil heavier in rocky amendments.
With this in mind, you’ll find that most tropical houseplants can survive in a standard potting mix consisting of equal parts compost of some sort, equal parts moss, and equal parts drainage amendments. However, we recommend adding some additional drainage amendments to the soil of your tropical guys. Because tropical plants are usually kept in lower light than where they live in the natural world, there is a higher likelihood that their soil will remain too moist, causing their soil to become a potential environment for gnat-loving bacteria and fungi.
-
Get Down to Business!
First, prep your pot! We like to cover the pot’s drainage hole with a small piece of drywall tape or mesh before adding your base layer of soil to prevent any particles from spilling out, but this step is optional. Next, add a small scoop of soil to the bottom of the pot, filling the base about ⅓ of the volume of the vessel.
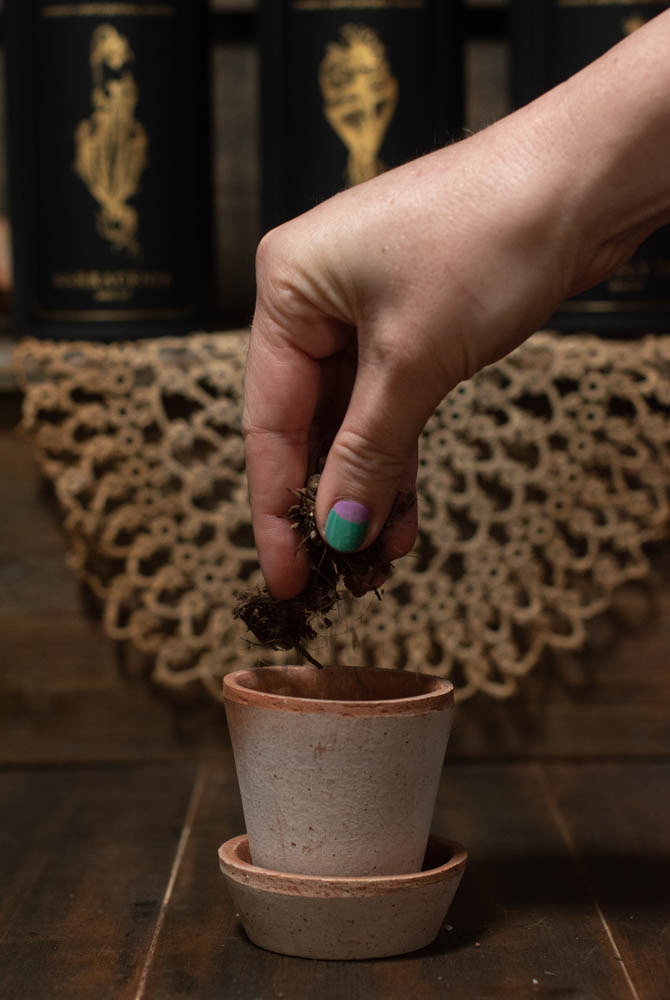
Next, let’s get your plant ready for its new home! Gently the base of the nursery pot your plant is in to loosen the soil it’s currently in. Then, while cradling the base of the plant in your hand, turn the pot onto its side and slide the root ball out. If your plant is in a hard ceramic container you may have to insert a thin knife or trowel down between the soil and the inside of the pot to free the roots from the old pot.
A heads up that most plants that have fairly delicate root systems that often include tiny root hairs that are not always visible to the naked eye. This means that even a little disturbance to the soil can damage these tiny root guys. For this reason we recommend being extra careful and making your best effort not to rip any roots on the plant’s way out of the pot.
Once your plant has been freed from its current vessel, take a moment to check over its roots and give the soil a little sniff. You want to make sure that the roots are firm and healthy before going ahead and replanting. If you notice any dark, mushy roots, or smells akin to old produce left in your fridge for a little too long, then it is likely this plant has a case of root rot and will have to be rehabbed before moving up to a larger planter. If, however, the roots appear healthy and good to go, you can go ahead and shake any loose soil off from the root ball. Sometimes you’ll have to give the roots a little tap to help loosen the root ball up and allow that dirt to break on free. The goal is to shake off as much of the old medium to make way for the new, while not causing damage to the roots.
Finally, gently nest the plant and its root ball in your new planter atop that fresh layer of soil. You want the top of the root ball to sit about a half inch to an inch below the rim of the pot. If it’s sitting a little too high, remove a little soil from the bottom of the pot until it’s just right. Conversely, if the base of the plant sits further down from the rip, add another handful of soil or so to the base it prop it on up. Once you find the right placement, proceed by filling the soil in around the root ball along the sides of the pot. Keep filling the sides until the soil is nests just a tiny bit above the root ball. Finally, gently tamp the soil’s surface to make sure your root ball is security supported by its new potting medium. No need to fully compress the surface of the soil; A light tamping will do just fine!
Now what?
If you are repotting a tropical plant variety, we advise watering the plant slowly and evenly around the base until the soil is fully saturated and a little water dribbles out of that handy drainage hole you sprung for! If you’re repotting an arid plant like a cactus or succulent, on the other hand, wait a few days before watering to allow any damaged roots to callous up and heal before getting their roots wet and inviting in fungus or bacteria.
And that’s that! You have successfully repotted your plant and prepared it for healthy, happy nesting! We’re proud of you, and so is your plant!
Hi Tracey, Thank you so much for your question! We and other plant shops often hold onto a range of plastic nursery pots in case a customer needs one for repotting. Give us a call or stop in to let us know what size you’re looking for – we might have the correct size on hand!
I run into repotting problems one two fronts- finding graduated larger plastic liner pots to put in my nice containers and, since I have the “right plant in the right place/location” , repotting means that I need a bigger container – often more expensive than the plant itself and then everything in the house starts to get moved around. Where to find a wide range of liner pots?
Leave a comment